 Pin it
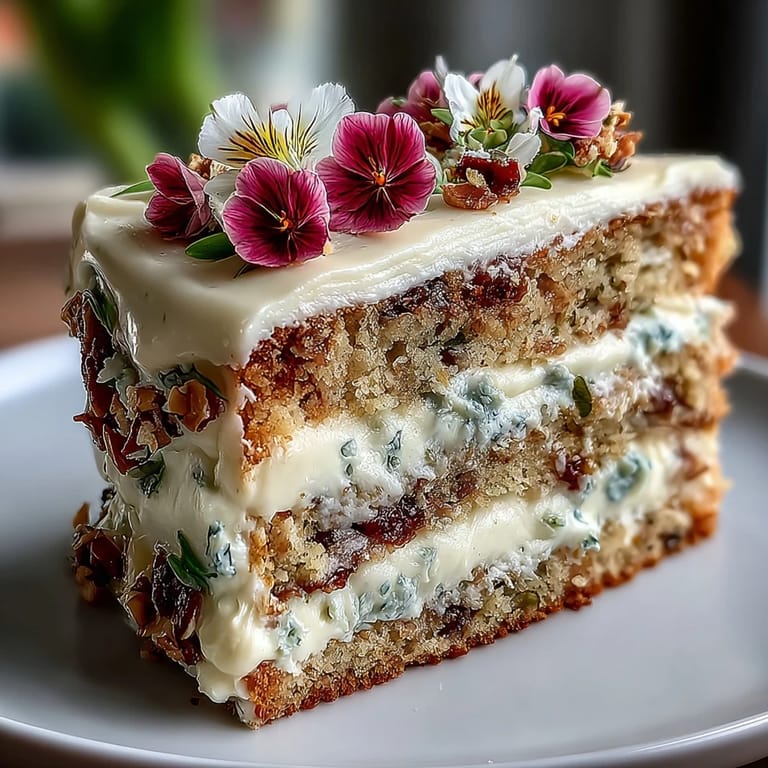
 My sister called me three days before her birthday asking if I could bake her a cake, which meant she'd already decided I was the only one who could pull off something special. I found myself standing in the kitchen at dawn, butter softening on the counter, thinking about how a simple vanilla cake could somehow feel like the most important thing I'd make all year. There's something about creating layers of tender crumb and pastel buttercream that transforms a regular Tuesday into a celebration before anyone even arrives. That's when I realized this cake wasn't really about technique—it was about showing up with color and care.
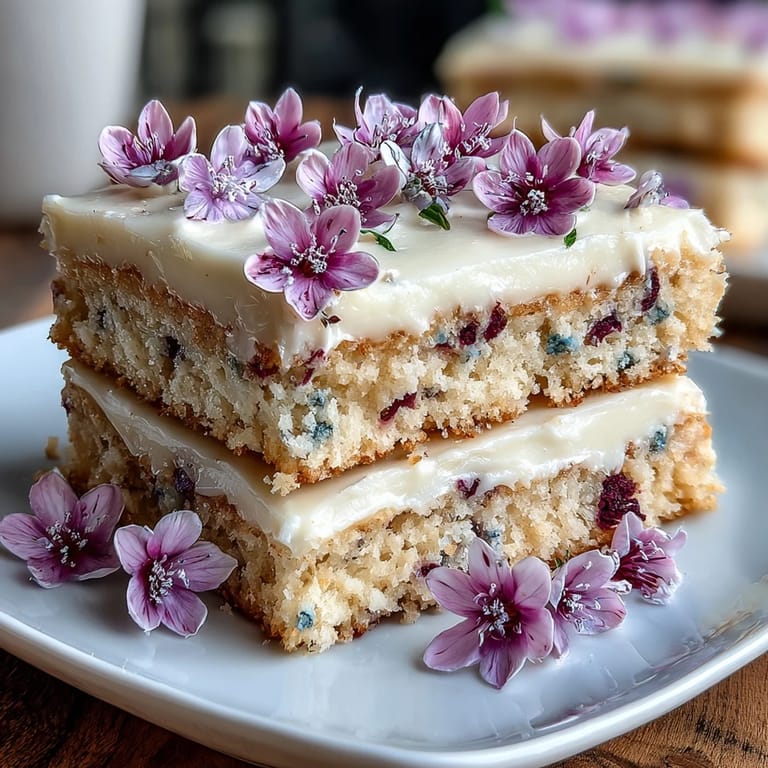
I'll never forget watching my niece's face when she saw the cake sitting on the table—not because it was perfect, but because it had these wobbly little piped roses in soft pink and lavender that somehow looked cheerful instead of messy. She pointed and laughed, then asked if she could help me add the edible flowers, and suddenly baking alone became baking together. That moment taught me that cakes are really just an excuse to make memories with people you love.
Ingredients
- All-purpose flour (2 ½ cups): The backbone of your cake's structure, and sifting it with the baking powder ensures even rising without dense pockets.
- Baking powder (2 ½ tsp): This is your lift, so make sure yours isn't old—check that it's been less than six months since you opened it or your cake will stay flat.
- Unsalted butter (1 cup for cake, 1 ½ cups for buttercream): Room temperature butter creams properly with sugar, which traps air and creates that fluffy texture everyone loves.
- Granulated sugar (2 cups): Works with the butter to create volume, and beating them together for those full 3-4 minutes is non-negotiable.
- Eggs (4 large, room temperature): Cold eggs won't incorporate smoothly, so let them sit out for 30 minutes—they're doing important work creating structure and richness.
- Pure vanilla extract (1 tbsp cake, 2 tsp buttercream): The flavor backbone that makes people say this tastes homemade, so skip the imitation if you can.
- Whole milk (1 cup cake, ¼ cup buttercream, both room temperature): Warmth matters because cold milk won't blend evenly into the batter and can make the buttercream grainy.
- Powdered sugar (6 cups, sifted): Sifting removes lumps that would otherwise show up in your buttercream texture and make piping frustrating.
- Gel food coloring (pink, yellow, lavender, green, blue): Gel holds color without thinning your buttercream like liquid colors do, and a little goes a long way.
- Edible flower petals and sprinkles (optional): These are your final flourish, so choose what makes you happy—there's no wrong answer.
Tired of Takeout? 🥡
Get 10 meals you can make faster than delivery arrives. Seriously.
One email. No spam. Unsubscribe anytime.
Instructions
- Set yourself up for success:
- Preheat your oven to 350°F and grease those three 8-inch pans generously, then line the bottoms with parchment paper so your cake layers release without sticking. Get your eggs and milk out of the fridge right now because room temperature ingredients are the quiet hero of this whole recipe.
- Build your dry team:
- Whisk together flour, baking powder, and salt in a medium bowl—this distributes the leavening evenly so you don't end up with dense spots. Set this aside and don't second-guess yourself.
- Cream the butter and sugar:
- Beat them together on medium-high speed for a full 3-4 minutes until the mixture looks pale and fluffy, like you could almost eat it straight from the bowl. You'll hear the mixer sound change as air gets incorporated—that's the magic happening.
- Add eggs with confidence:
- Drop in one egg at a time, beating well after each addition so it fully incorporates before the next one arrives. This prevents that separated, curdled look and keeps everything smooth.
- Alternate and don't overthink it:
- Add a bit of flour mixture, then a splash of milk, then more flour, always starting and ending with flour—this keeps the batter from breaking. Mix until just combined and walk away; overmixing develops gluten and makes cakes tough.
- Fill and level:
- Divide batter evenly among pans using a measuring cup or scale if you're feeling precise, then smooth the tops with an offset spatula so they bake evenly. Uneven cake layers are one of life's small frustrations, so take 30 seconds here.
- Bake with patience:
- Bake for 25-30 minutes until a toothpick inserted in the center comes out clean with maybe a few crumbs clinging to it. Your kitchen will smell like a bakery and that's the perfect signal to check.
- Cool correctly:
- Let cakes rest in their pans for 10 minutes to set slightly, then turn them out onto wire racks to cool completely. This prevents them from sinking or breaking while still warm and fragile.
- Make the buttercream magic:
- Beat butter until creamy, then gradually add sifted powdered sugar so you don't create a flour cloud and it blends smoothly. Add milk, vanilla, and salt, then beat for another 3-4 minutes until it's fluffy and spreadable.
- Tint with personality:
- Divide buttercream into bowls and add gel coloring a tiny bit at a time, stirring until you reach that soft pastel shade—it's easier to add more color than take it away. Gel coloring stays vibrant without diluting your buttercream like liquid would.
- Layer and crumb coat:
- Place one cooled cake layer on your serving plate, spread buttercream on top, then repeat with remaining layers until stacked. Apply a thin first coat of buttercream all over the entire cake and chill for 20 minutes so you have a smooth surface for decorating.
- Decorate with joy:
- Fill piping bags with your pastel buttercreams and different tips, then pipe flowers, swirls, or whatever makes you smile directly onto the chilled cake. There's no wrong way to do this—wobbly roses are charming and perfect piping takes practice.
- Final chill and serve:
- Chill the decorated cake for 15-20 minutes so the buttercream sets and holds its shape, then bring to the table ready to celebrate. This small wait time means your decorations won't smudge when you slice it.
 Pin it
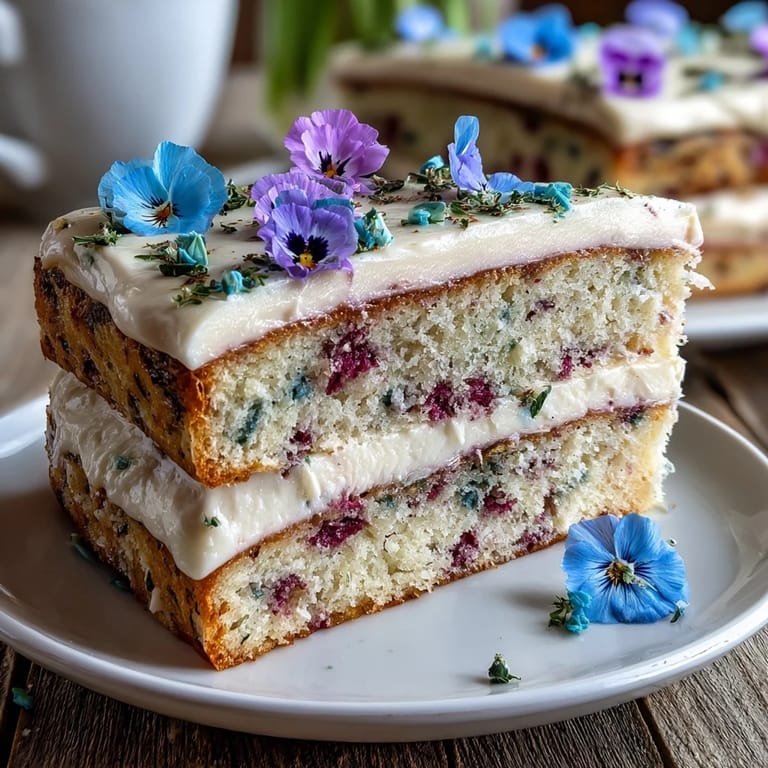
 The moment that made this cake feel like more than a recipe was when my mom walked in midway through decorating and asked if she could pipe one flower herself—she'd never decorated a cake before and was terrified of messing it up. She created this lopsided lavender rose that somehow became the centerpiece of the whole design, and we both laughed harder than we had in months. That's when I understood that birthday cakes aren't about perfection; they're about showing people they're worth the time and the flour dust in your hair.
Why Room Temperature Really Matters
I learned this lesson the hard way after trying to speed things up by using cold eggs straight from the fridge, thinking a few extra minutes of beating would fix it. The batter looked broken and curdled, and I panicked thinking the whole cake was ruined, but I powered through and it actually turned out okay—just denser than it could have been. Now I pull everything out when I start preheating, and the difference in texture is honestly night and day.
The Art of Piping Without Panic
Piping buttercream flowers sounds fancy and intimidating, but it's really just about practice and accepting that imperfect flowers have charm. I started by practicing on parchment paper first, making little blobs of color until my hand understood the pressure needed, then transferred that confidence to the actual cake. The secret is that no one inspecting a birthday cake is looking for floral accuracy—they're looking at the care that went into it.
Flavor Variations and Personal Touches
Once you've mastered the basic cake, you can pivot in so many directions depending on who you're baking for and what season it is. I've added lemon zest to the batter in spring, almond extract for a subtle earthiness, and even a touch of rose water to match the floral theme—each version feels like its own celebration. The beauty of vanilla cake is that it's a blank canvas, so trust your instincts about what flavors would make someone smile.
- Try adding the zest of one lemon or a quarter teaspoon of almond extract to the batter for a flavor layer that feels unexpected.
- Brush each cooled cake layer with simple syrup made from equal parts sugar and water to keep it moist if you're baking ahead of time.
- If you want to skip the buttercream decorating entirely, a simple dusting of powdered sugar and fresh flowers on top looks elegant and takes five minutes.
 Pin it
 This cake has become my go-to for birthdays, showers, and any celebration where showing up with color and effort feels important. The fact that people are always shocked at how tender it is, how the buttercream tastes like actual butter, and how beautiful it looks means everything to me—because those three things are really just evidence of caring.
Recipe Q&A
- → What gives the buttercream its pastel colors?
Gel food colorings in soft shades like pink, yellow, lavender, green, and blue are gently mixed into the buttercream to achieve subtle pastel hues.
- → Can I prepare this cake in advance?
Yes, the cake layers and buttercream can be prepared ahead of time and stored separately. Assemble and decorate shortly before serving for best freshness.
- → How are the floral designs created on the cake?
Various piping tips are used with tinted buttercream to craft delicate floral patterns, adding a spring-inspired decorative touch.
- → What texture should the cake batter have before baking?
The batter should be smooth and well combined but not overmixed, ensuring a tender and fluffy cake crumb.
- → Are there any tips for flavor variations?
Adding almond or lemon extract to the batter can enhance flavor, providing a subtle twist to the vanilla base.
- → What tools are essential for successful decoration?
An electric mixer for creamy buttercream, piping bags with assorted tips for floral designs, and an offset spatula for smooth frosting application are key.