 Pin it
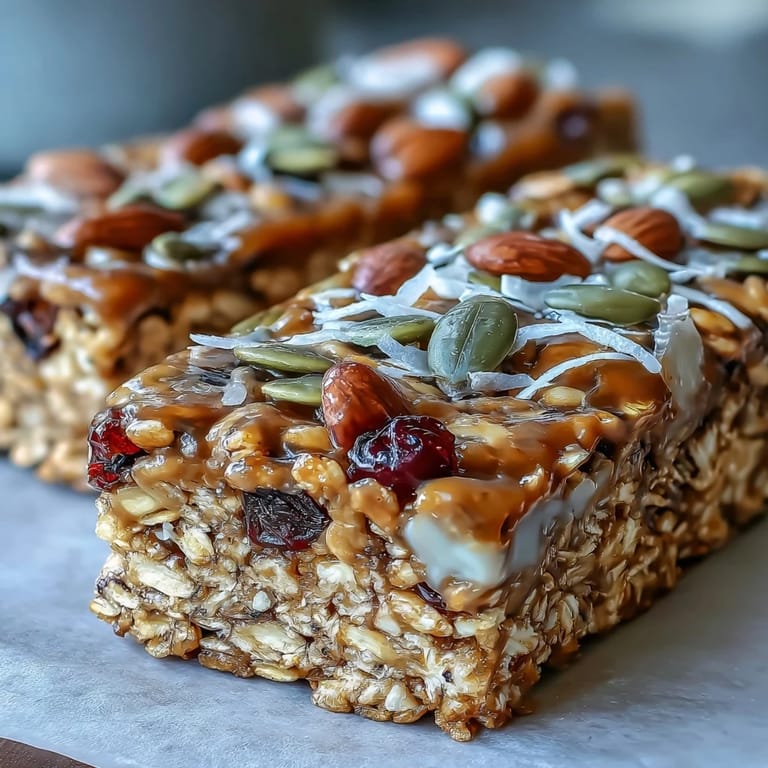
 The cheerful clatter of pans never fails to wake up my kitchen, but the first time I decided to whip up nut-free granola bars, I was inspired by the sudden urge to create a snack everyone could share without worry. Sunshine flooded the room while oats spilled across the counter, and somehow, the feeling was less about following a recipe and more about piecing together something truly inclusive. There was honey sticking to my fingers, laughter echoing as I realized the coconut was measured with a spoon intended for seeds. The smell that lifted from the oven was a warm, sweet promise—these bars would end up in backpacks and picnic baskets alike. I was surprised at how quickly they vanished, leaving just a trace of cinnamon lingering in the air.
I remember bringing a batch to a family beach outing, and between sandy fingers and quick bites during a card game, nobody believed these chewy bars were homemade. My cousin forgot her allergy pill but still sampled one, looking relieved and delighted—a simple snack, suddenly a hero for the group. Even my picky nephew, after protesting the coconut, ended up claiming two for himself. Those moments felt like the perfect reward for a little kitchen curiosity. Now every summer, someone requests the "safe snack" and I just grin, knowing it all started in my tiny kitchen.
Ingredients
- Old-fashioned rolled oats: Rolled oats give the perfect chewy foundation; pressing them firmly makes all the difference in the final texture.
- Unsweetened shredded coconut: This adds a gentle sweetness and crunch, but using unsweetened keeps things balanced and prevents overpowering the bars.
- Pumpkin seeds (pepitas): I love the gentle nutty flavor these bring without triggering anyone's allergies—the fresher they are, the better the crunch.
- Sunflower seeds: Sunflower seeds complement the pepitas and add a mellow richness, especially when slightly toasted beforehand.
- Dried cranberries or raisins, roughly chopped: Roughly chopping helps evenly distribute bursts of sweetness for every bite.
- Mini chocolate chips (optional): These melt a little and make the bar feel more like a treat; dairy-free chips work for everyone.
- Fine sea salt: A pinch goes far—don't skip it, because it brings out the flavors of everything else.
- Ground cinnamon: This gentle spice lifts the aroma and makes the bars taste like a cozy morning.
- Honey: The glue for chewy bars, honey creates a golden color and binds the dry ingredients—use gentle heat to make mixing easier.
- Sunflower seed butter or tahini: Adds creamy richness without nuts; stirring well ensures no lumps remain.
- Coconut oil, melted: Use melted coconut oil to help the bars set and add a hint of tropical flavor.
- Pure vanilla extract: Vanilla rounds out flavors—never skimp, even a tiny teaspoon changes the depth beautifully.
Tired of Takeout? 🥡
Get 10 meals you can make faster than delivery arrives. Seriously.
One email. No spam. Unsubscribe anytime.
Instructions
- Prepare your pan:
- Line an 8-inch square baking pan with parchment, letting the paper hang over the edges. The overhang is your secret weapon for easy removal later.
- Mix all things dry:
- Tumble oats, coconut, seeds, dried fruit, chocolate chips, salt and cinnamon into a big bowl. Stir with your favorite spatula so every piece is dusted with spice and sweetness.
- Warm the wet magic:
- In a saucepan over gentle heat, stir honey, sunflower seed butter (or tahini), coconut oil, and vanilla until glossy and warm to the touch. It should smell inviting and blend without lumps.
- Bring it all together:
- Pour the wet mixture over the dry, scooping and folding so every oat is coated. Take your time—mixed well means chewy everywhere.
- Press and compact:
- Tip the mix into your pan, spreading evenly. Press down hard with a spoon or bottom of a measuring cup so they stay together when sliced.
- Bake and watch:
- Slide the pan into the oven for 20–25 minutes. Watch for golden brown edges, a sign they're nearly done.
- Cool and slice:
- Let the bars cool completely in the pan (patience counts here) then lift out using the parchment. Slice into 12 eager bars and admire your handiwork.
- Store for later:
- Pack bars into an airtight container; they'll keep a week at room temperature or longer in the fridge, if they last that long.
 Pin it
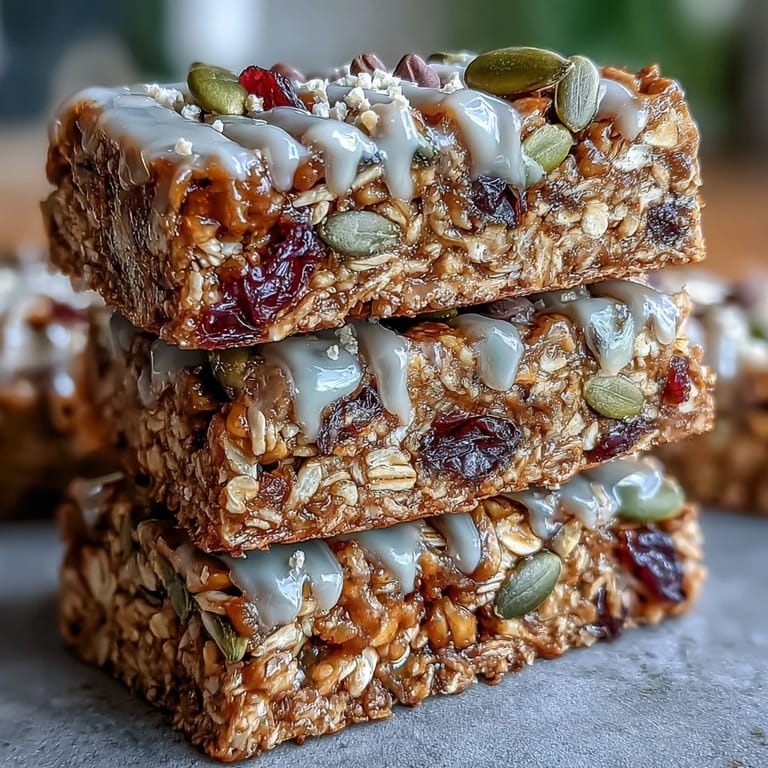
 The first time someone called these bars "legendary," I realized they had become more than just an easy snack. Whether it was the carefree picnic or a cozy afternoon at home, sharing them meant sharing more than just food—I was sharing a little piece of uncomplicated joy.
Secrets of Chewy Granola Texture
Chewiness comes down to how you mix and press the ingredients. I discovered that warming the honey mixture thoroughly and folding the dry ingredients patiently gives a much more satisfying bite. If you rush the pressing, the bars crumble—so take a moment to press with confidence. A little patience helps every slice come out neat. Melted coconut oil also adds a touch of softness that keeps the bars tender for days.
Swapping & Customizing with Confidence
I love how flexible this recipe is—swapping in dried blueberries or chopped apricots changes the mood of the bars entirely. If you need vegan bars, use maple syrup without a second thought; the flavor is subtly different, but still delicious. Toasting the oats and seeds beforehand can dial up the crunch, especially for snackers who love texture. Every substitution taught me that homemade snacks really thrive on imagination. Even dairy-free chocolate chips turn these bars into dessert for everyone.
Packing & Storing Granola Bars Like a Pro
Keeping the bars chewy and fresh is easy with the right storage tricks. Once cooled, I wrap each in parchment and stack them in a tin, so they're ready for grab-and-go moments. Storing in the fridge helps them last, though they rarely stick around long.
- Slice only after cooling so they stay whole.
- If you see moisture, pop them in the fridge for extra freshness.
- Don't forget to label the container for allergy safety—the bars look tempting to everyone.
 Pin it
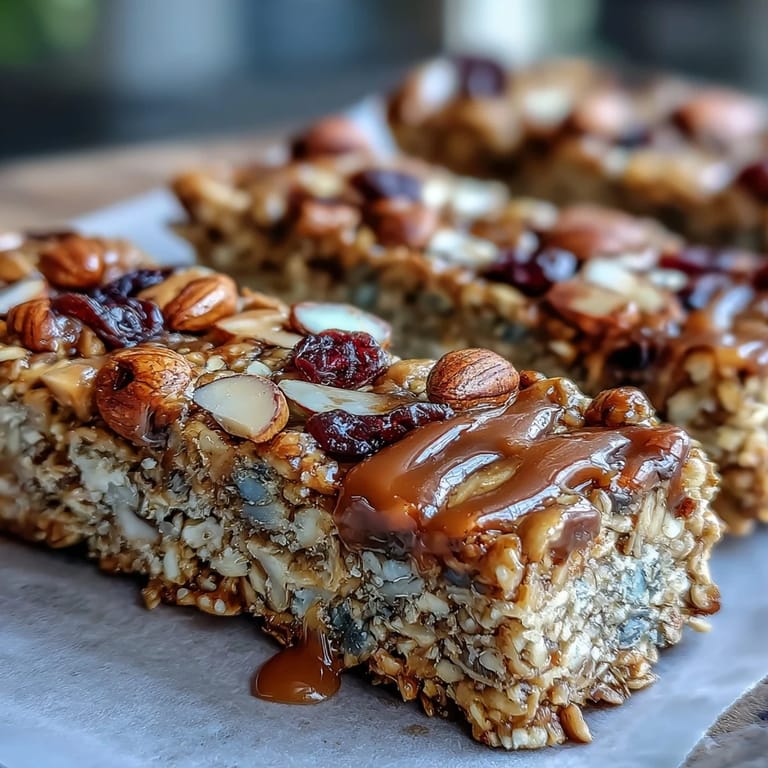
 I hope these chewy bars find their way into your favorite moments. There's something satisfying about sharing a snack you made yourself—especially when everyone can enjoy it.
Recipe Q&A
- → How can I make these bars vegan?
Replace honey with maple syrup or agave nectar for a vegan-friendly alternative that maintains sweetness and binding.
- → Can I use other seeds or dried fruits?
Absolutely! Mix in your preferred seeds like chia or flax, and swap cranberries for other dried fruits such as cherries or apricots.
- → Are these bars dairy-free?
Yes, if you use dairy-free chocolate chips or omit them, the bars are completely dairy-free and suitable for sensitive diets.
- → How do I store the bars for optimal freshness?
Keep bars in an airtight container at room temperature for up to 1 week, or refrigerate to extend shelf life.
- → Is coconut considered a nut allergen?
Coconut is classified as a tree nut by some, so check allergies before including. Substitute as needed for safety.
- → Can I toast the oats and seeds before mixing?
Toasting adds crunch and enhances flavor. Simply toast oats and seeds in a dry pan or oven before combining.